I have been trying to configure the solar radiation sensor for some time now so that the icon and weather description on the Saratoga website are as accurate as possible.
It is a shame that the manual is so outdated, as I do not see some options implemented in new updates explained.
Set time to set icon I believe that 30 minutes before sunrise or sunset the information that prevails is that of the configured metar.
I do not understand what exactly the minutes after/before sunrise/set before able to start increasing sunshine hours box does.
I believe I have the other values well adjusted. Thank you very much
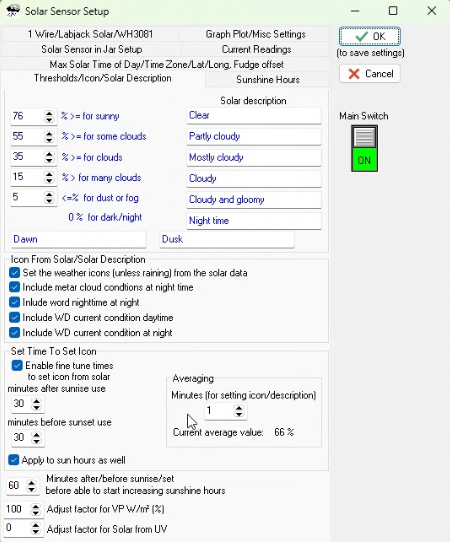
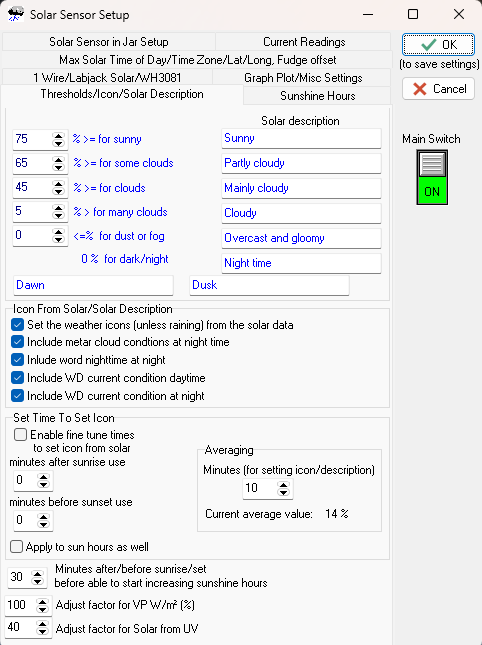
This is how my solar sensor is set up in WD. I don’t remember changing any settings when I installed the sensor. The icon description isn’t perfect on my website but it is usually close to reality.
Search is a wonderful thing!
I searched for “Set time to set icon” and the first thread which came up had the following description:
The fine tune settings delay when the solar description is set, after sunrise or
make it stop early before sunset. That then can also be applied to the sunshine hours calculation too, to reduce errors associated with the small numbers at that time of day.
The averaging is how many minutes the averaging period is taken over, to reduce fluctuations, e.g for a sunny day, if 1 cloud drifts over the sun…instead of straight away reporting it as cloudy,…a rolling average value is used instead to set the conditions/icon shown.
For Minutes after/before sunrise/set before able to start increasing sunshine hours, that is a general threshold applying to just the sunshine hours, independent of the setting above (but will get over-ridden by the setting above).
Remember that if you use the “Set Time To Set Icon” settings, you may need to alter the minutes through the year, as the Sun gets higher or lower in the sky.
Ok, I’ll take note of your adjustment. In any case, although the result of the weather icon is actually quite good, there are some adjustments that are useful. For me, for example, well before sunset, the percentage of solar radiation is lower and it appears to me as cloudy when it is not really so. There is a colleague in the message following yours who explains these fine adjustments.
Hi friend, I promise I had done the search, but I don’t know how I didn’t find that.
The instructions are very clear, except for “for Minutes after/before sunrise/set before able to start increasing sunshine hours”
That part seems more complex to me, what I will do is set 60 minutes “The fine tune settings delay when the solar description is set, after sunrise or make it stop early before sunset.”
In that case I understand that it works with the data from the meter that I would like to think could be more precise than those from my sensor at those hours that are difficult to read.
The instructions are very clear, except for “for Minutes after/before sunrise/set before able to start increasing sunshine hours”
Basically, this setting is for when the solar reading is a very low number, as in early morning or late evening. At these times it’s very easy for the solar reading to reach above the 76% of the expected figure you have set for “Sunny” and this could lead to false recording of the hours of sunshine for that day.
As an example, if the solar reading is 8 and the expected is 10 then it will show as Sunny and record add it to the SunShine Hours for that day. Where as 8 could well be bright but cloudy.
To stop this happening, you set this figure so Sunshine hours start being recorded this many minutes after Sunrise and before Sunset.
I use 120 minutes on my settings.